You have a product. You have an ICP. Now you need actual people to sell to. Building a prospect list from scratch sounds straightforward, but most teams do it badly. They either build lists that are too broad (50,000 contacts with no filtering), too narrow (200 contacts and they run out in two weeks), or too dirty (half the emails bounce on the first campaign).
A good prospect list is targeted, verified, and large enough to sustain your outbound engine for at least a quarter. Here is how to build one from zero using enrichment data.
Step 1: Define Your ICP Criteria
Before you touch any tool, write down exactly who you are looking for. Specificity matters. The difference between a good ICP and a bad one is the difference between a targeted list and a phone book.
Your ICP criteria should include:
- Industry: which verticals are you targeting? Be specific. Not just technology, but SaaS, DevOps, or cybersecurity.
- Company size: what employee count range? 50-500 is very different from 500-5,000.
- Revenue: what annual revenue range? This matters for deal size alignment.
- Geography: which countries, regions, or cities?
- Technology stack: do they need to use certain tools? (Salesforce, HubSpot, AWS, etc.)
- Growth signals: recently funded? Rapid hiring? Expanding to new markets?
Also define your target persona within those companies. You need names and titles, not just company matches. Who do you actually talk to? VP of Sales? Director of Marketing? Head of Revenue Operations?
Aim for 2-3 persona types per account. The average B2B deal involves 6-10 decision-makers, so you need contacts beyond just your primary buyer.
Step 2: Source Your Account List
Start with accounts, not contacts. You want a list of companies that match your ICP criteria. Several sources work well:
LinkedIn Sales Navigator is the most popular starting point. Use the account filters to search by industry, company size, location, and technology. Save matching companies to an account list.
Crunchbase is strong for funded companies. Filter by funding stage, amount raised, and industry to find companies with recent capital to spend.
Industry databases and trade associations maintain member directories that can be filtered by vertical.
Your CRM contains look-alikes. Pull your best customers and find companies with similar characteristics using firmographic enrichment data.
Aim for 200-500 accounts per ICP segment. That is large enough to sustain outbound for a quarter but small enough to keep your outreach targeted and relevant.
Step 3: Identify Target Contacts
For each account, you need contacts who match your target persona. This is where LinkedIn Sales Navigator shines. Search within each company for titles matching your buyer personas.
For efficiency, do this at scale rather than one company at a time. LinkedIn Sales Navigator lets you search for contacts at all companies in a saved account list simultaneously. Filter by title keywords, seniority level, and function.
Target 3-5 contacts per account. Your primary buyer plus adjacent stakeholders who influence the decision. For a sales tool sale, that might be the VP of Sales, Director of Sales Operations, and Head of Business Development at each company.
Step 4: Enrich with Contact Data
LinkedIn gives you names and titles. Now you need work emails and phone numbers. This is the enrichment step, and it is where your list quality is determined.
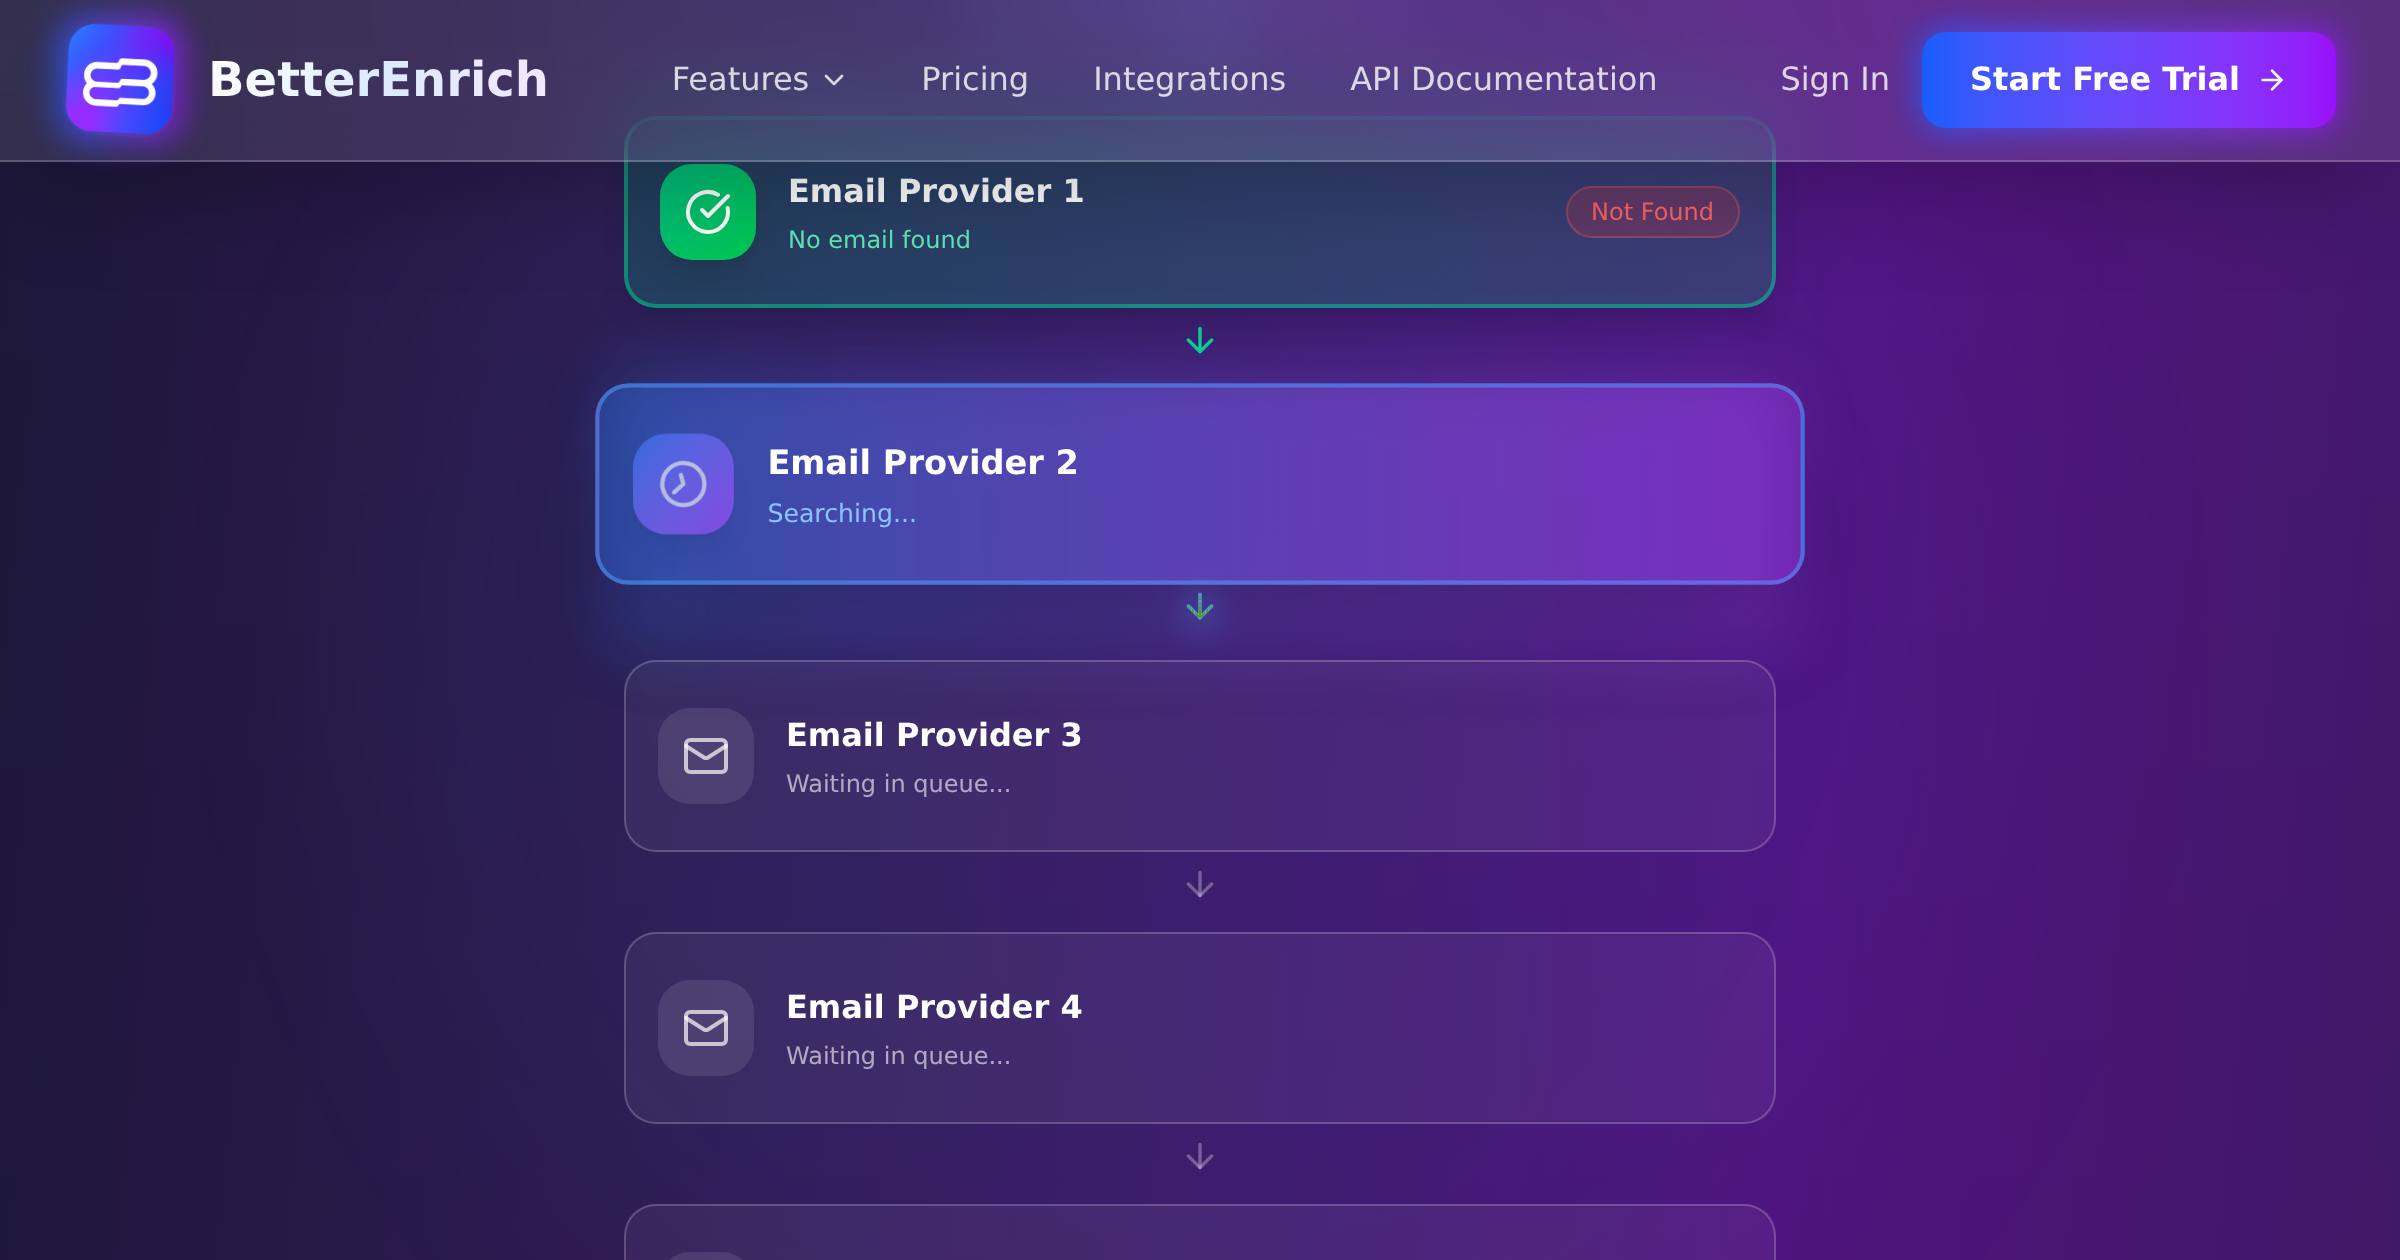
Export your contact list (name, company, title) and run it through a waterfall enrichment platform. BetterEnrich cascades through 17+ data sources to find verified work emails and mobile phone numbers for each contact.
The coverage difference between single-source and waterfall is significant here. With a single-source tool at 50-70% coverage, a 1,000-contact list yields 500-700 contacts with data. With waterfall at 85-95%, you get 850-950. That is 200-450 additional reachable contacts from the same starting list.
The pay-per-valid model means you only pay for contacts that come back with verified data. Empty results and landline phone numbers are free. This is important when you are building a list from scratch and do not know what your coverage rate will look like.
Step 5: Verify Everything
Do not trust enrichment results blindly. Verification is a separate, critical step.
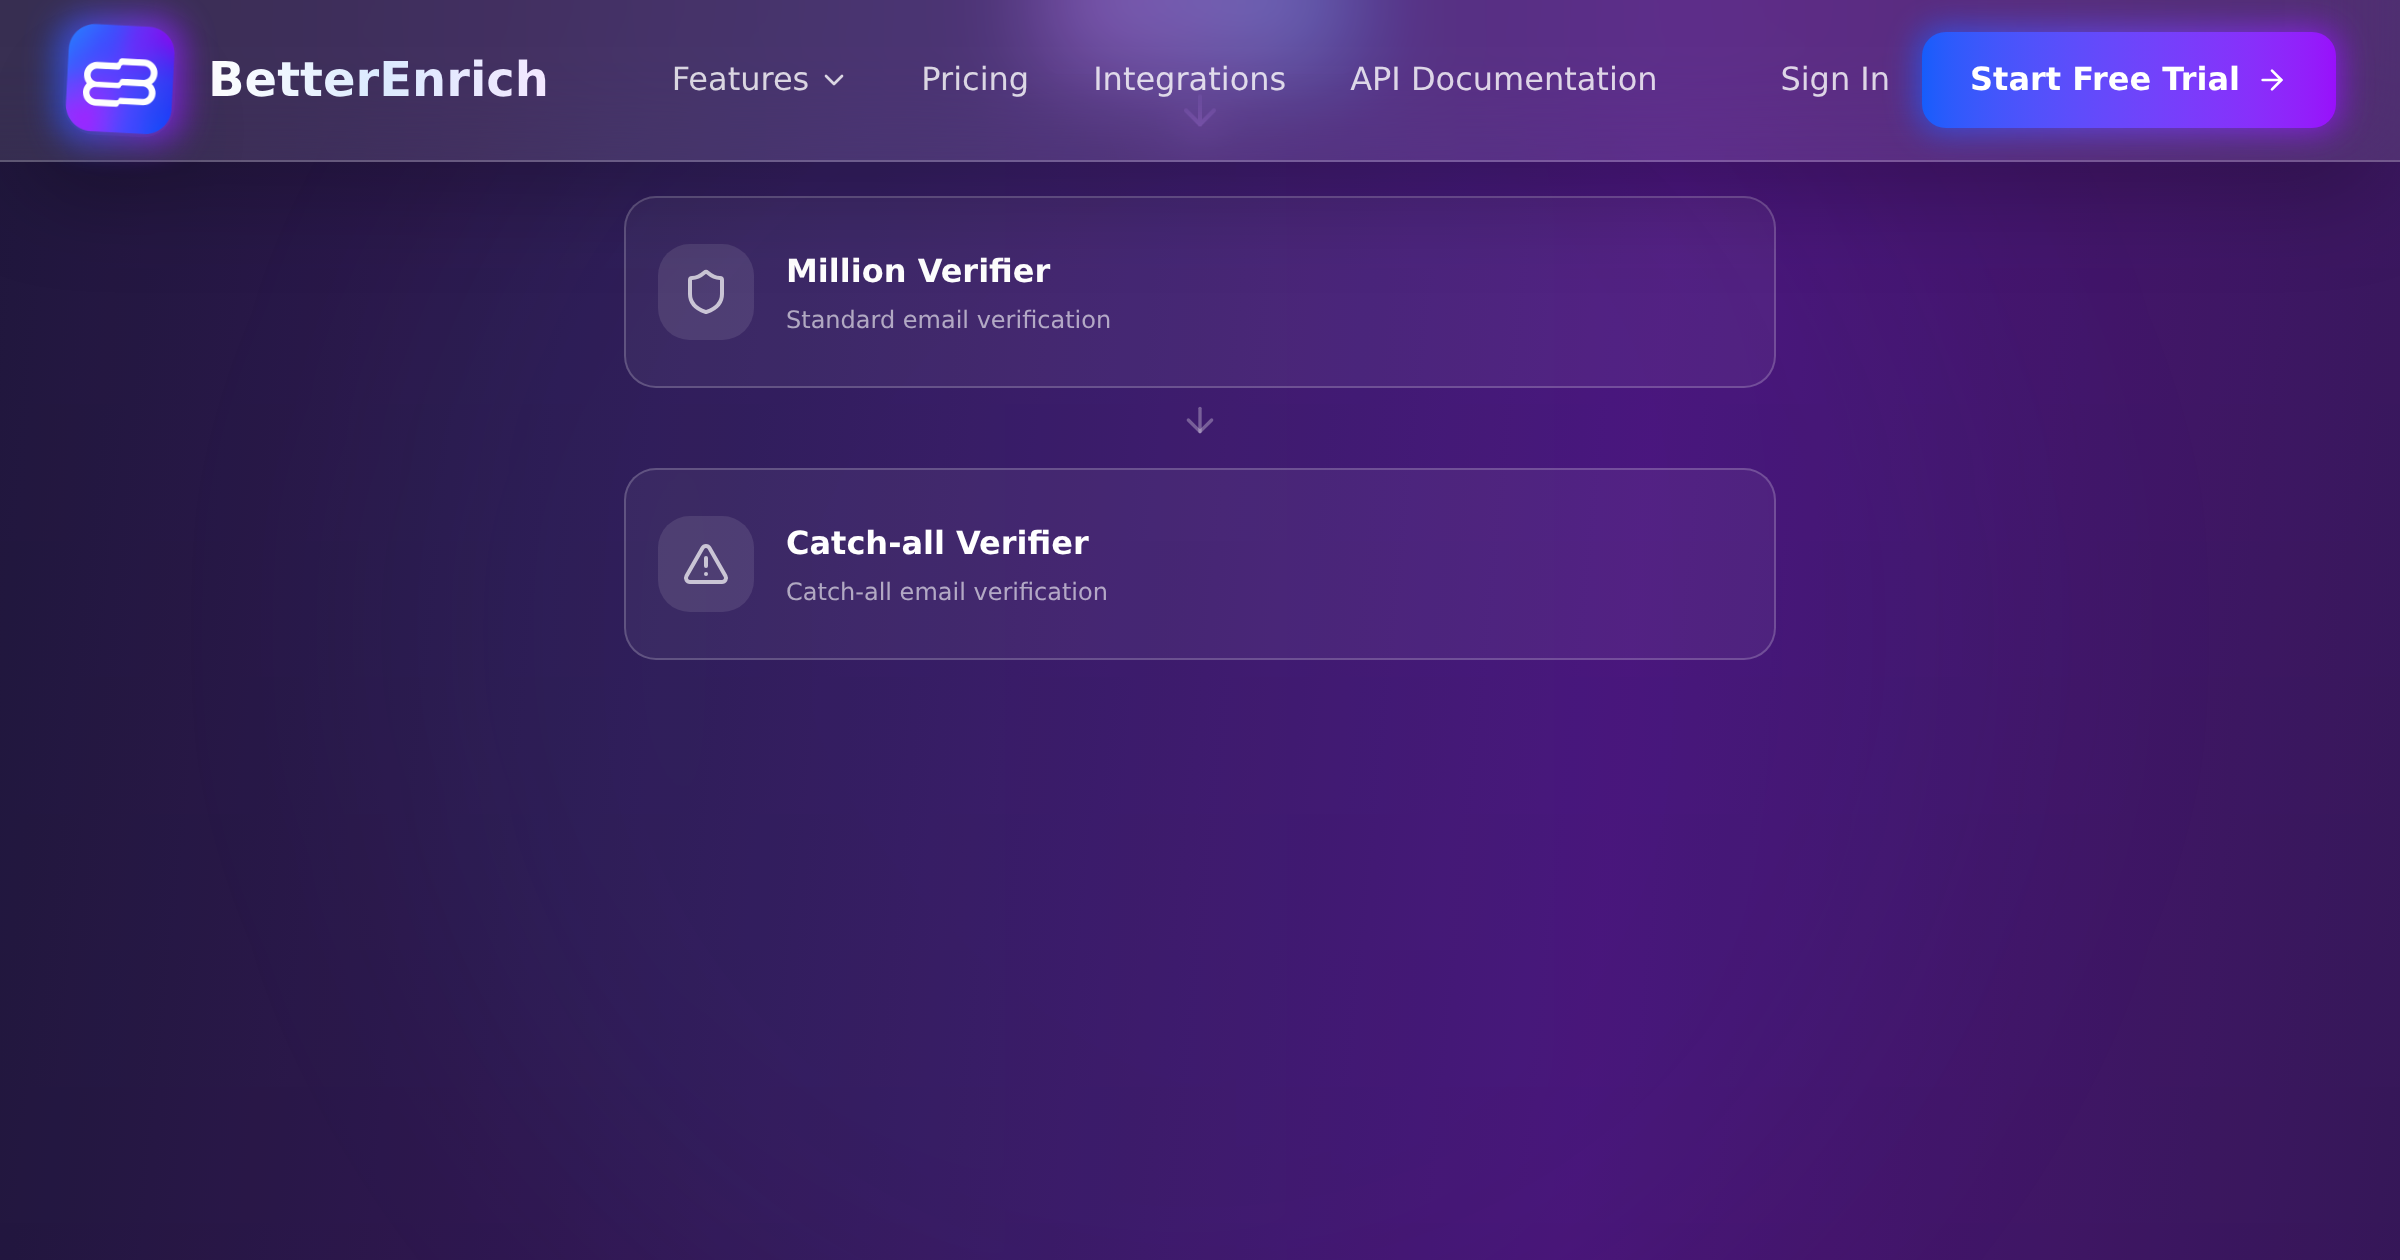
For emails: run every address through deliverability verification. This checks that the mailbox exists, the domain has valid MX records, and the address is not a known spam trap. Hard bounce rates across enrichment tools range from 0.9% to 11.2%. Verification brings that close to zero.
For phone numbers: verify line type (mobile vs. landline), active status, and geographic location. BetterEnrich includes 3-step phone verification in the enrichment process, so emails and phones are verified before you ever see them.
For company data: spot-check that company names match email domains. Some enrichment tools have a mismatch rate as high as 14.7% between company names and email domains. A quick sanity check catches obvious errors.
Step 6: Segment the List
A flat prospect list is a wasted opportunity. Segment by:
- Priority tier: Tier 1 (best ICP fit + intent signals), Tier 2 (good fit, no intent), Tier 3 (moderate fit)
- Industry vertical: different messaging for SaaS vs. healthcare vs. manufacturing
- Company size: mid-market and enterprise need different approaches
- Persona: the VP of Sales hears a different message than the Director of Ops
- Geography: time zone-appropriate outreach and regional relevance
Each segment gets its own outreach sequence with tailored messaging. The enriched data you collected in Step 4 powers the personalization: reference their tech stack, company size, industry challenges, or recent news.
Step 7: Load and Launch
Import your segmented, enriched, verified list into your CRM and sales engagement platform. Map enriched fields to the right CRM properties: work email, mobile phone, company size, industry, technology stack.
Enroll each segment into its tailored outreach sequence. Start with your Tier 1 segment and stagger the launches so you are not blasting 1,000 emails on day one.
Maintaining Your List
B2B contact data decays at 2.1% per month. Within a year, 22.5% of your list is stale. Job title changes affect 65.8% of contacts within 12 months. Phone numbers change for 42.9% of contacts annually.
Set up these maintenance routines:
- Monthly: re-verify email addresses for any contacts with bounced emails
- Quarterly: re-enrich contacts who have not been touched in 90+ days
- Semi-annually: rebuild the list from scratch using current ICP criteria
- Ongoing: remove bounced emails and disconnected phones immediately
A list that is not maintained is a list that is rotting. The decay is invisible until your bounce rates spike and your sender reputation tanks. Prevention is much cheaper than recovery.
How Many Prospects Do You Actually Need?
Work backward from your quota. If you need 10 meetings per month to hit pipeline targets, and your meeting conversion rate is 5% (1 meeting per 20 prospects contacted), you need 200 new prospects per month.
Build your initial list to cover at least a full quarter: 600 prospects minimum, segmented and ready to go. This gives you enough runway to iterate on messaging without running out of contacts.
For a team of 5 SDRs each needing 200 prospects per month, that is 3,000 prospects per quarter. Waterfall enrichment at 90% coverage means you need to start with roughly 3,300 target contacts to end up with 3,000 enriched and verified ones.
The Bottom Line
Building a prospect list from scratch is a seven-step process: define ICP, source accounts, identify contacts, enrich, verify, segment, and launch. The enrichment step is where most of the value is created. Without verified contact data, your beautifully segmented, perfectly targeted list is just a spreadsheet of names you cannot reach.
Waterfall enrichment at 85-95% coverage ensures you are not leaving contacts on the table. Pay-per-valid pricing ensures you are not burning money on bad data. And built-in verification ensures your first campaign hits inboxes, not spam folders.