
You have a spreadsheet of leads or a CRM full of contacts, but most records are missing critical information. You have names and maybe company names, but no emails, no phone numbers, no job titles, no company size data. Every lead you try to reach requires 10 minutes of manual research on LinkedIn. Your sales team is spending more time looking up information than actually selling.
Data enrichment fixes this by automatically filling in missing data points on your contacts and companies. It takes what you already know about a prospect and adds everything else you need: verified email addresses, direct phone numbers, job titles, company revenue, employee count, industry, technology stack, and more. This guide walks you through setting up enrichment from scratch, choosing the right tools, and avoiding common beginner mistakes.
What Data Enrichment Does (and Does Not Do)
At its core, data enrichment is a lookup process. You provide an input (usually a name plus company, an email address, a LinkedIn URL, or a company domain), and the enrichment service returns additional data points associated with that input.
What enrichment can add to a contact record: Work email address, direct phone number, mobile number, current job title, department, seniority level, LinkedIn profile URL, social media profiles, and work location.
What enrichment can add to a company record: Industry, employee count, annual revenue, headquarters location, website URL, technology stack (what software they use), funding information, company description, and social media profiles.
What enrichment cannot do: It cannot find people who are not in any database. If someone has no online presence and works at a tiny company with no web footprint, enrichment will not find them. It also cannot guarantee 100% accuracy. Even the best providers have error rates of 5-15% on returned data, which is why verification is always recommended as a follow-up step.
Step 1: Define What Data You Actually Need
Before choosing any tool or provider, figure out which data points will actually impact your workflow. This saves you from paying for data you do not use.
For cold email outbound, you need: verified work email (essential), first name (essential for personalization), job title (important for relevance), and company name (important for personalization). Phone numbers, company size, and industry are nice to have but not strictly required for email outreach.
For phone-based outreach, you need: direct phone number or mobile (essential), job title (to confirm you are reaching the right person), and company name. Email becomes secondary.
For account-based marketing, you need a broader set: email, phone, job title, seniority level, company size, industry, technology stack, and location. ABM campaigns rely on precise targeting, so more data points means better segmentation.
For marketing segmentation, you need: industry, company size, seniority level, department, and location at minimum. These fields let you segment your audience for targeted campaigns and personalized content.
Step 2: Prepare Your Input Data
Enrichment quality depends heavily on input quality. The cleaner your starting data, the higher your match rates. Here is how to prepare your data for enrichment.
Standardize names. Make sure first name and last name are in separate fields. Remove any prefixes (Mr., Mrs., Dr.) or suffixes (Jr., III) into their own field or remove them entirely. Check for obvious formatting issues like all caps, extra spaces, or concatenated names.
Clean up company names. Remove legal suffixes (Inc., LLC, Ltd., Corp., GmbH) unless you are specifically matching against legal entity databases. Spell out abbreviations when possible. If you have a company website or domain, that is actually a better input than company name because it is unambiguous. Two companies can share a name, but no two companies share a domain.
Validate LinkedIn URLs. If you have LinkedIn profile URLs, make sure they follow the standard format (linkedin.com/in/username). Remove any tracking parameters or extra path segments. LinkedIn URLs are one of the most reliable inputs for enrichment because they uniquely identify a person.
Remove obvious junk records. Delete any rows with test data (test@test.com, John Doe at Acme Corp), personal email addresses used as work emails (gmail.com, yahoo.com, hotmail.com in a B2B context), and records with insufficient data to match (just a first name with no company, for example).
Step 3: Choose Your Enrichment Provider
There are dozens of enrichment providers, and the right choice depends on your specific needs, budget, and technical requirements. Here is a practical breakdown of the main categories.
All-in-one platforms (best for beginners): Tools like Apollo, Lusha, and Cognism provide enrichment alongside prospecting, sequencing, and other sales tools. The advantage is simplicity: everything in one place. The disadvantage is that you are locked into one data source, which limits coverage. Pricing typically runs $50-200 per month per user with credits included.
API-first providers (best for technical teams): Clearbit, People Data Labs, and FullContact offer enrichment primarily through APIs, designed to be integrated into your existing tools and workflows. They give you more control and flexibility but require some technical implementation. Pricing is usually per-lookup, ranging from $0.01-0.10 per record.
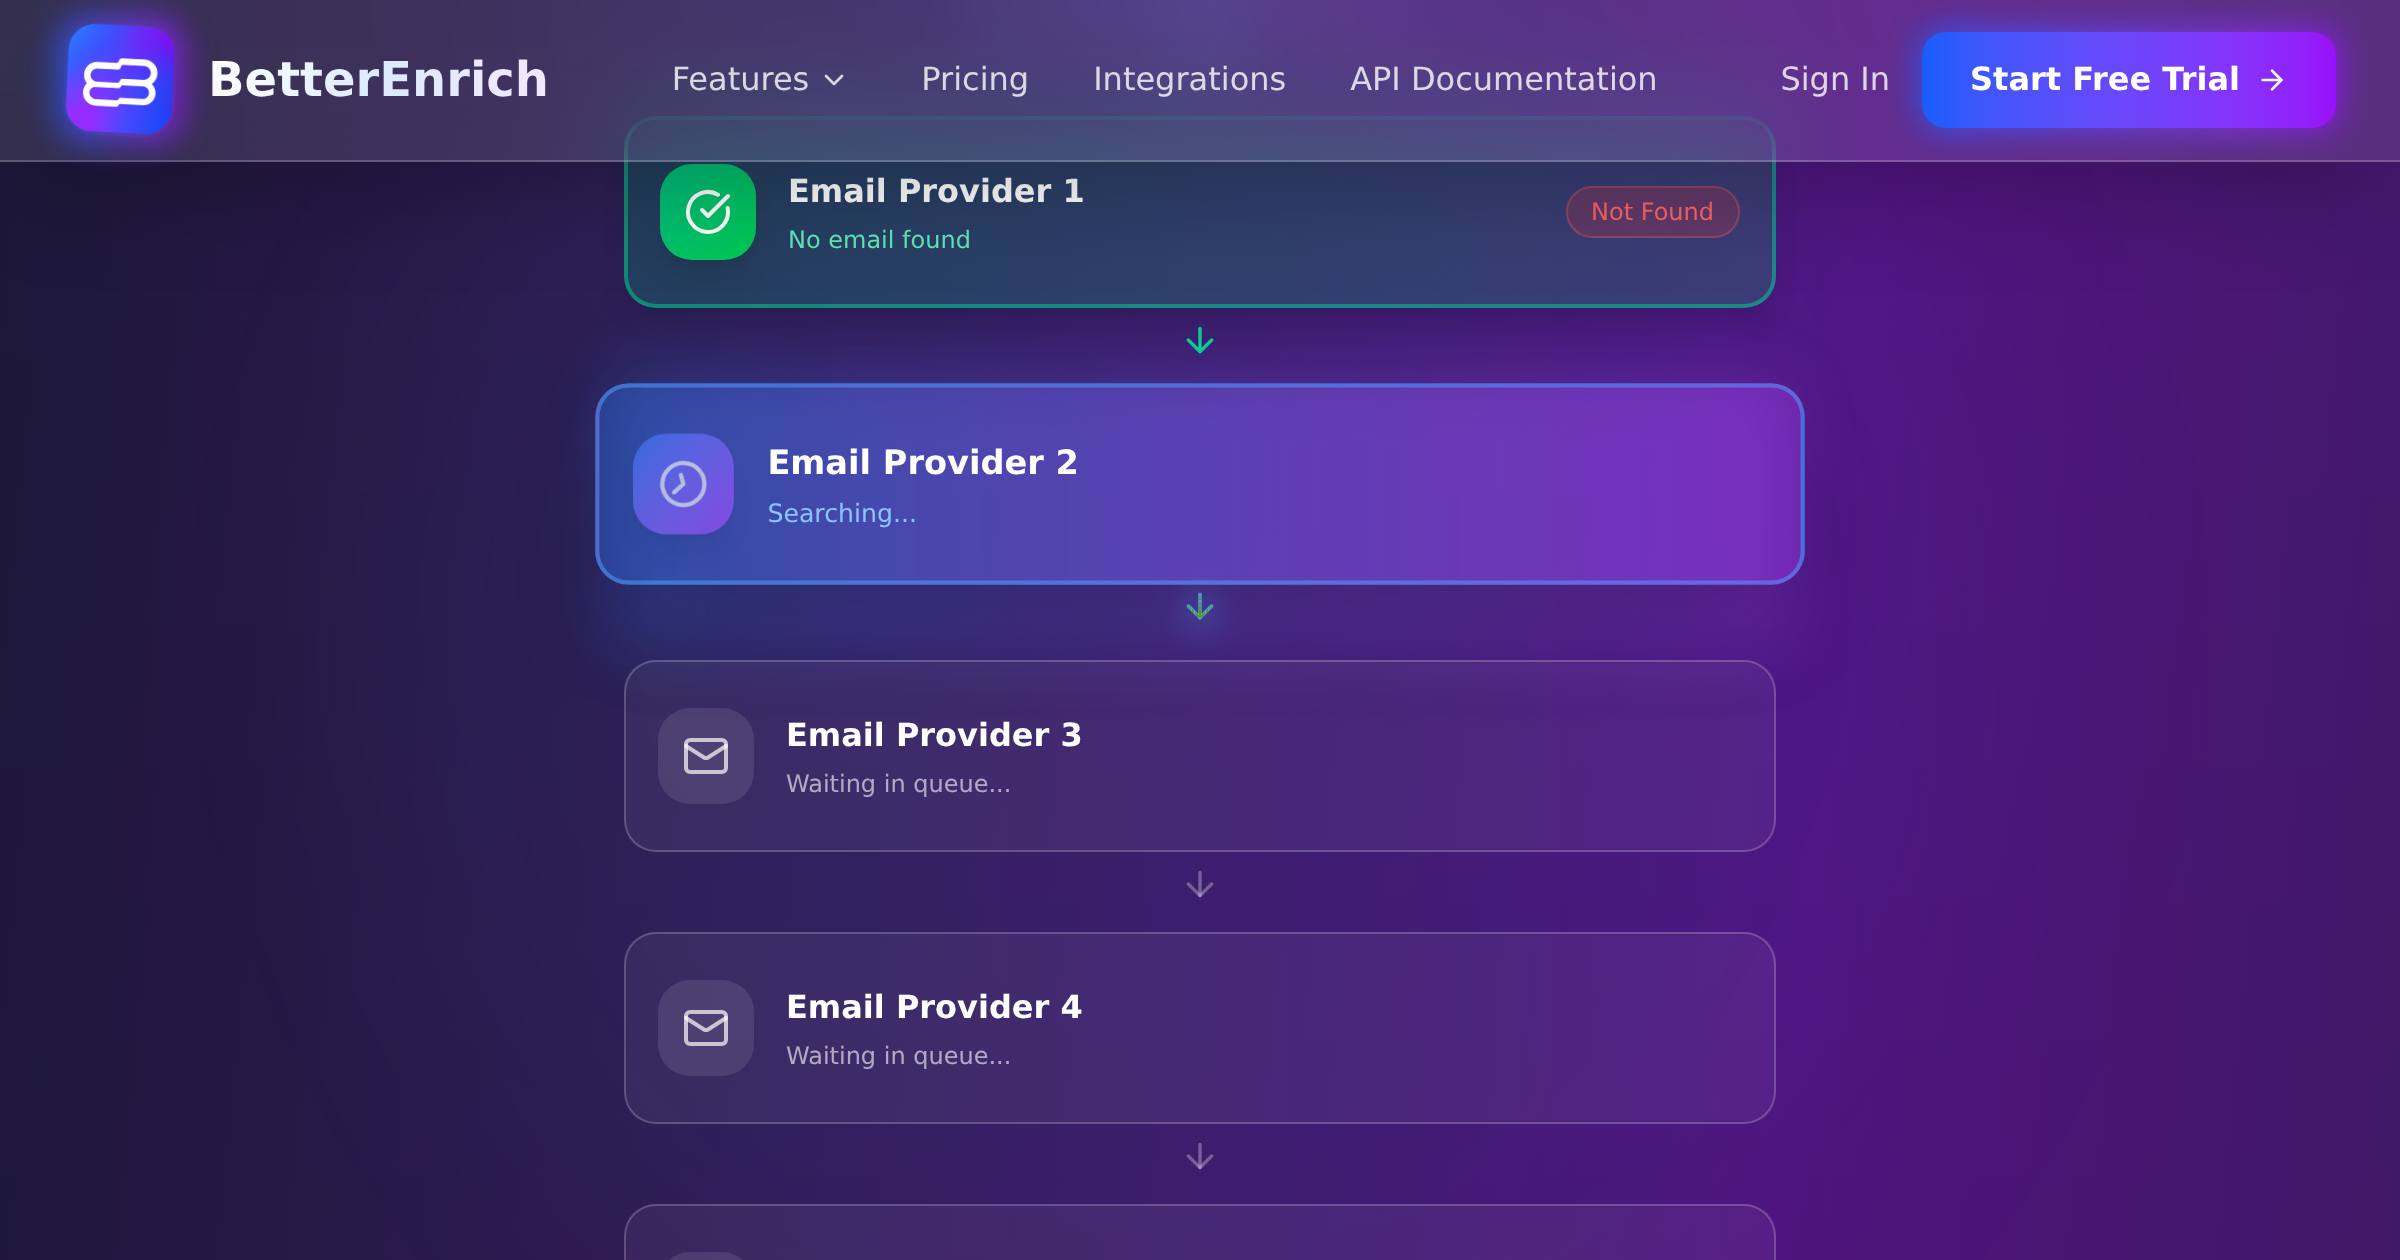
Waterfall platforms (best for coverage): BetterEnrich, Clay, and Persana route your data through multiple providers automatically, giving you higher coverage than any single source. They handle the complexity of multi-provider enrichment so you do not have to. Pricing varies but typically offers good value per enriched record because you only pay for successful matches.
Free and freemium options (best for small volumes): Hunter.io (free for 25 lookups per month), Snov.io (free for 50 credits), and Apollo (free tier with limited credits) let you test enrichment without spending money. These are great for learning how enrichment works and testing data quality before committing to a paid plan.
Step 4: Run Your First Enrichment
For your first enrichment run, start with a small test batch rather than processing your entire database.
Select 200-500 records that are representative of your broader dataset. Include a mix of different industries, company sizes, and seniority levels so you get a realistic picture of match rates and data quality.
Run the enrichment. Most tools make this straightforward: upload a CSV, map your input fields to the tool fields (first name, last name, company, domain, etc.), and start the enrichment. Depending on the tool and batch size, results come back in seconds to minutes for API-based tools, or minutes to hours for batch-processing tools.
Evaluate the results. For your test batch, measure these metrics: overall match rate (percentage of records where any new data was returned), email match rate specifically (the most important data point for most teams), completeness of returned data (how many fields were filled per record), and a manual accuracy check on 20-30 records (verify the returned data against LinkedIn or company websites).
Acceptable benchmarks for a single provider: 30-50% email match rate, 80-90% accuracy on returned emails, 40-60% phone match rate (if you are enriching phones). If your results are significantly below these ranges, the issue might be your input data quality rather than the provider. Go back to Step 2 and clean your inputs before trying again.
Step 5: Verify Enriched Data
This is the step most beginners skip, and it is the one that matters most. Enriched email addresses have a 10-15% invalid rate even from top-tier providers. Sending to invalid emails damages your sender reputation, which hurts the deliverability of all your future emails.
Run email verification on all enriched emails. Use a dedicated verification service (NeverBounce, ZeroBounce, Bouncer, MillionVerifier) to check each email address. Verification costs $3-10 per 1,000 emails and takes minutes. It categorizes each email as valid, invalid, catch-all, or unknown.
Only send to emails categorized as valid. Treat catch-all and unknown with caution. If more than 50% of a domain emails are catch-all, the domain likely uses a catch-all configuration, which means even invalid addresses will appear deliverable but may still bounce.
Verify a sample of phone numbers. Phone verification is trickier and more expensive than email verification. For your test batch, manually call 10-15 phone numbers to confirm they reach the right person. If fewer than 60% connect, the phone data quality from that provider needs scrutiny.
Step 6: Load Enriched Data Into Your CRM
Once your data is enriched and verified, it needs to go into your CRM or marketing platform where your team can actually use it.
Map fields carefully before importing. Enrichment providers often use different field names than your CRM. Company size might be called employee_count, employees, or company_headcount depending on the source. Map each enriched field to the correct CRM field before importing to avoid data ending up in wrong fields.
Decide on override rules. If a contact already has a job title in your CRM and the enrichment returns a different one, which one wins? Typically, the enrichment data should override existing data if the existing data is older than 6 months, but not if the existing data was manually entered by a rep who just had a conversation with the contact. Define these rules before importing.
Use tags or custom fields to track enrichment source. Add a field that records when a record was last enriched, which provider the data came from, and whether the email was verified. This metadata is valuable for troubleshooting data quality issues and for knowing when records need re-enrichment.
Step 7: Set Up Ongoing Enrichment
Your first enrichment run is just the beginning. Data decays at roughly 30% per year, which means a third of your enriched data will be outdated within 12 months. Here is how to keep your data fresh.
Enrich new records automatically. Set up an automation (via your enrichment tool CRM integration, Zapier, or API) that enriches every new contact or company record when it is created. This ensures new records are always complete from day one.
Re-enrich existing records quarterly. Export your database, filter for records that have not been enriched in the past 90 days, and run them through enrichment again. Focus on active prospects and target accounts first.
Monitor bounce rates as a data quality signal. If your email bounce rate on any campaign exceeds 3%, stop and re-verify the list before continuing. Rising bounce rates are the first sign that your data is going stale.
Common Beginner Mistakes to Avoid
Enriching everything at once. Start with your highest-priority contacts (active pipeline, target accounts, upcoming campaign lists) and expand from there. Enriching your entire database before you have a process for using and maintaining the data is wasteful.
Choosing a provider based only on price. The cheapest provider usually has the lowest match rates and worst data quality. A provider that costs twice as much but matches 50% more records and with better accuracy is almost always the better value.
Skipping verification. Say it again for emphasis: always verify enriched emails before sending. The 15 minutes and $5-10 it takes to verify a batch of 1,000 emails can save you weeks of deliverability recovery.
Not cleaning input data. Providers cannot match what they cannot parse. A row with John S at SF tech company will not match. Clean inputs produce better outputs, always.
Data enrichment is one of those things that seems overwhelming until you actually do it. Start with a small batch, follow these steps, and you will have a working enrichment workflow within a day. From there, it is a matter of optimizing coverage, expanding data points, and automating the ongoing process.